
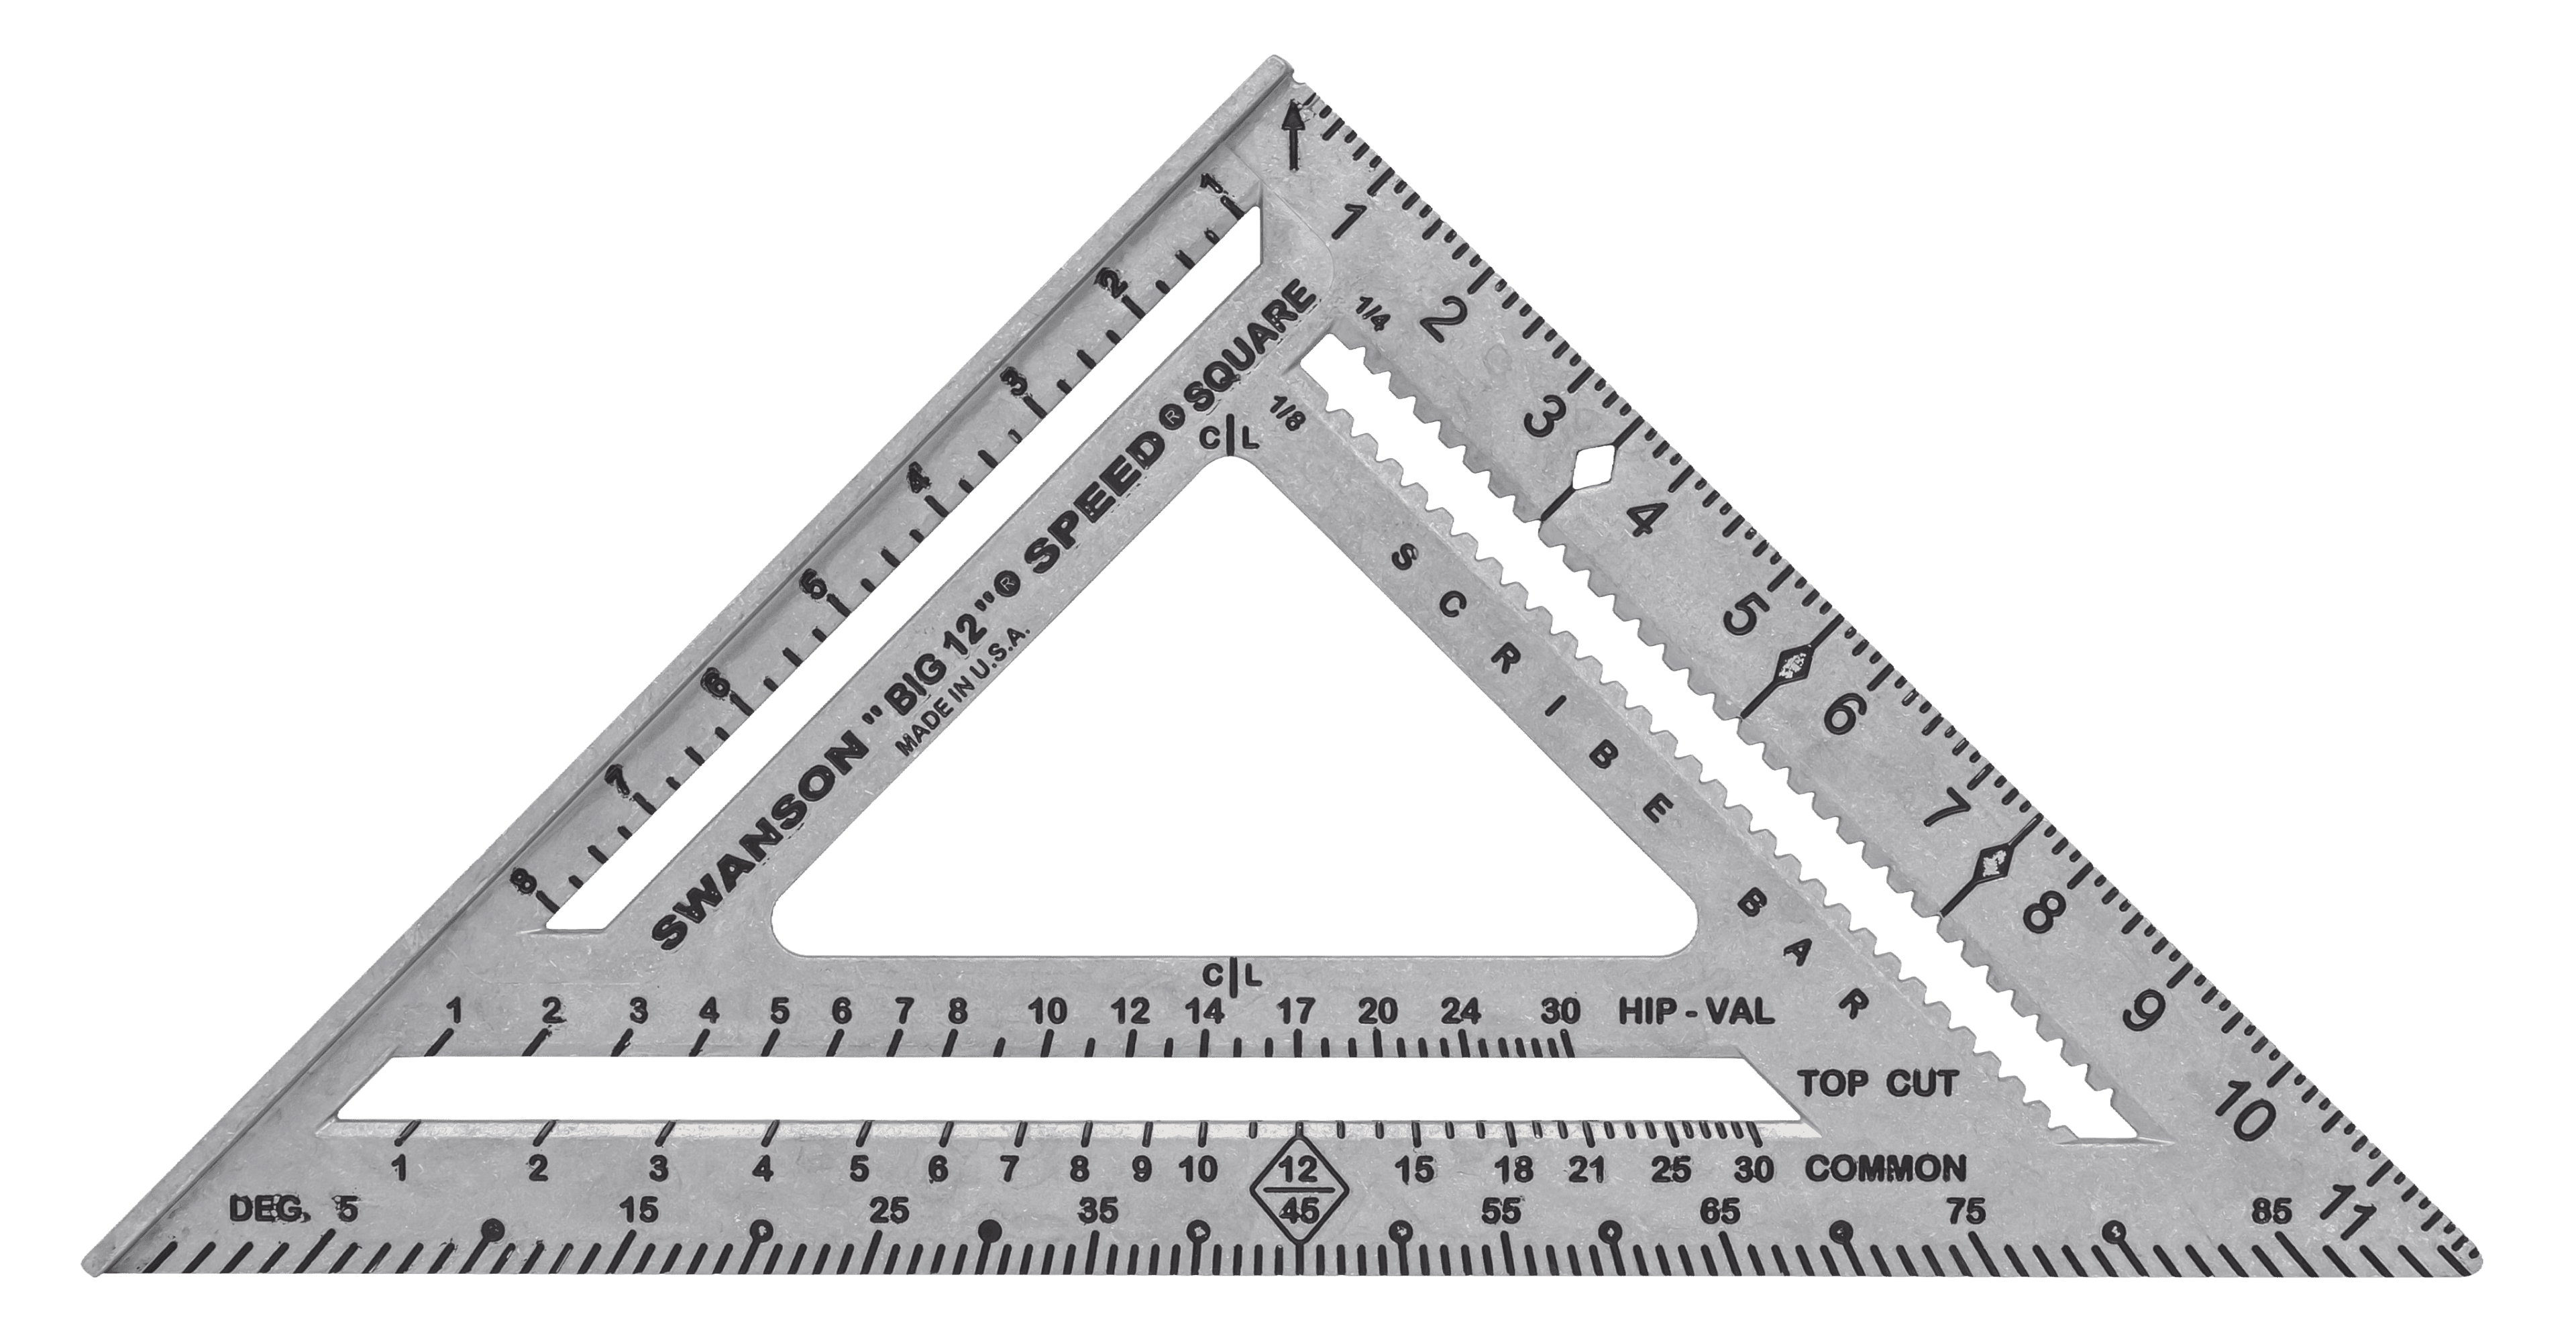

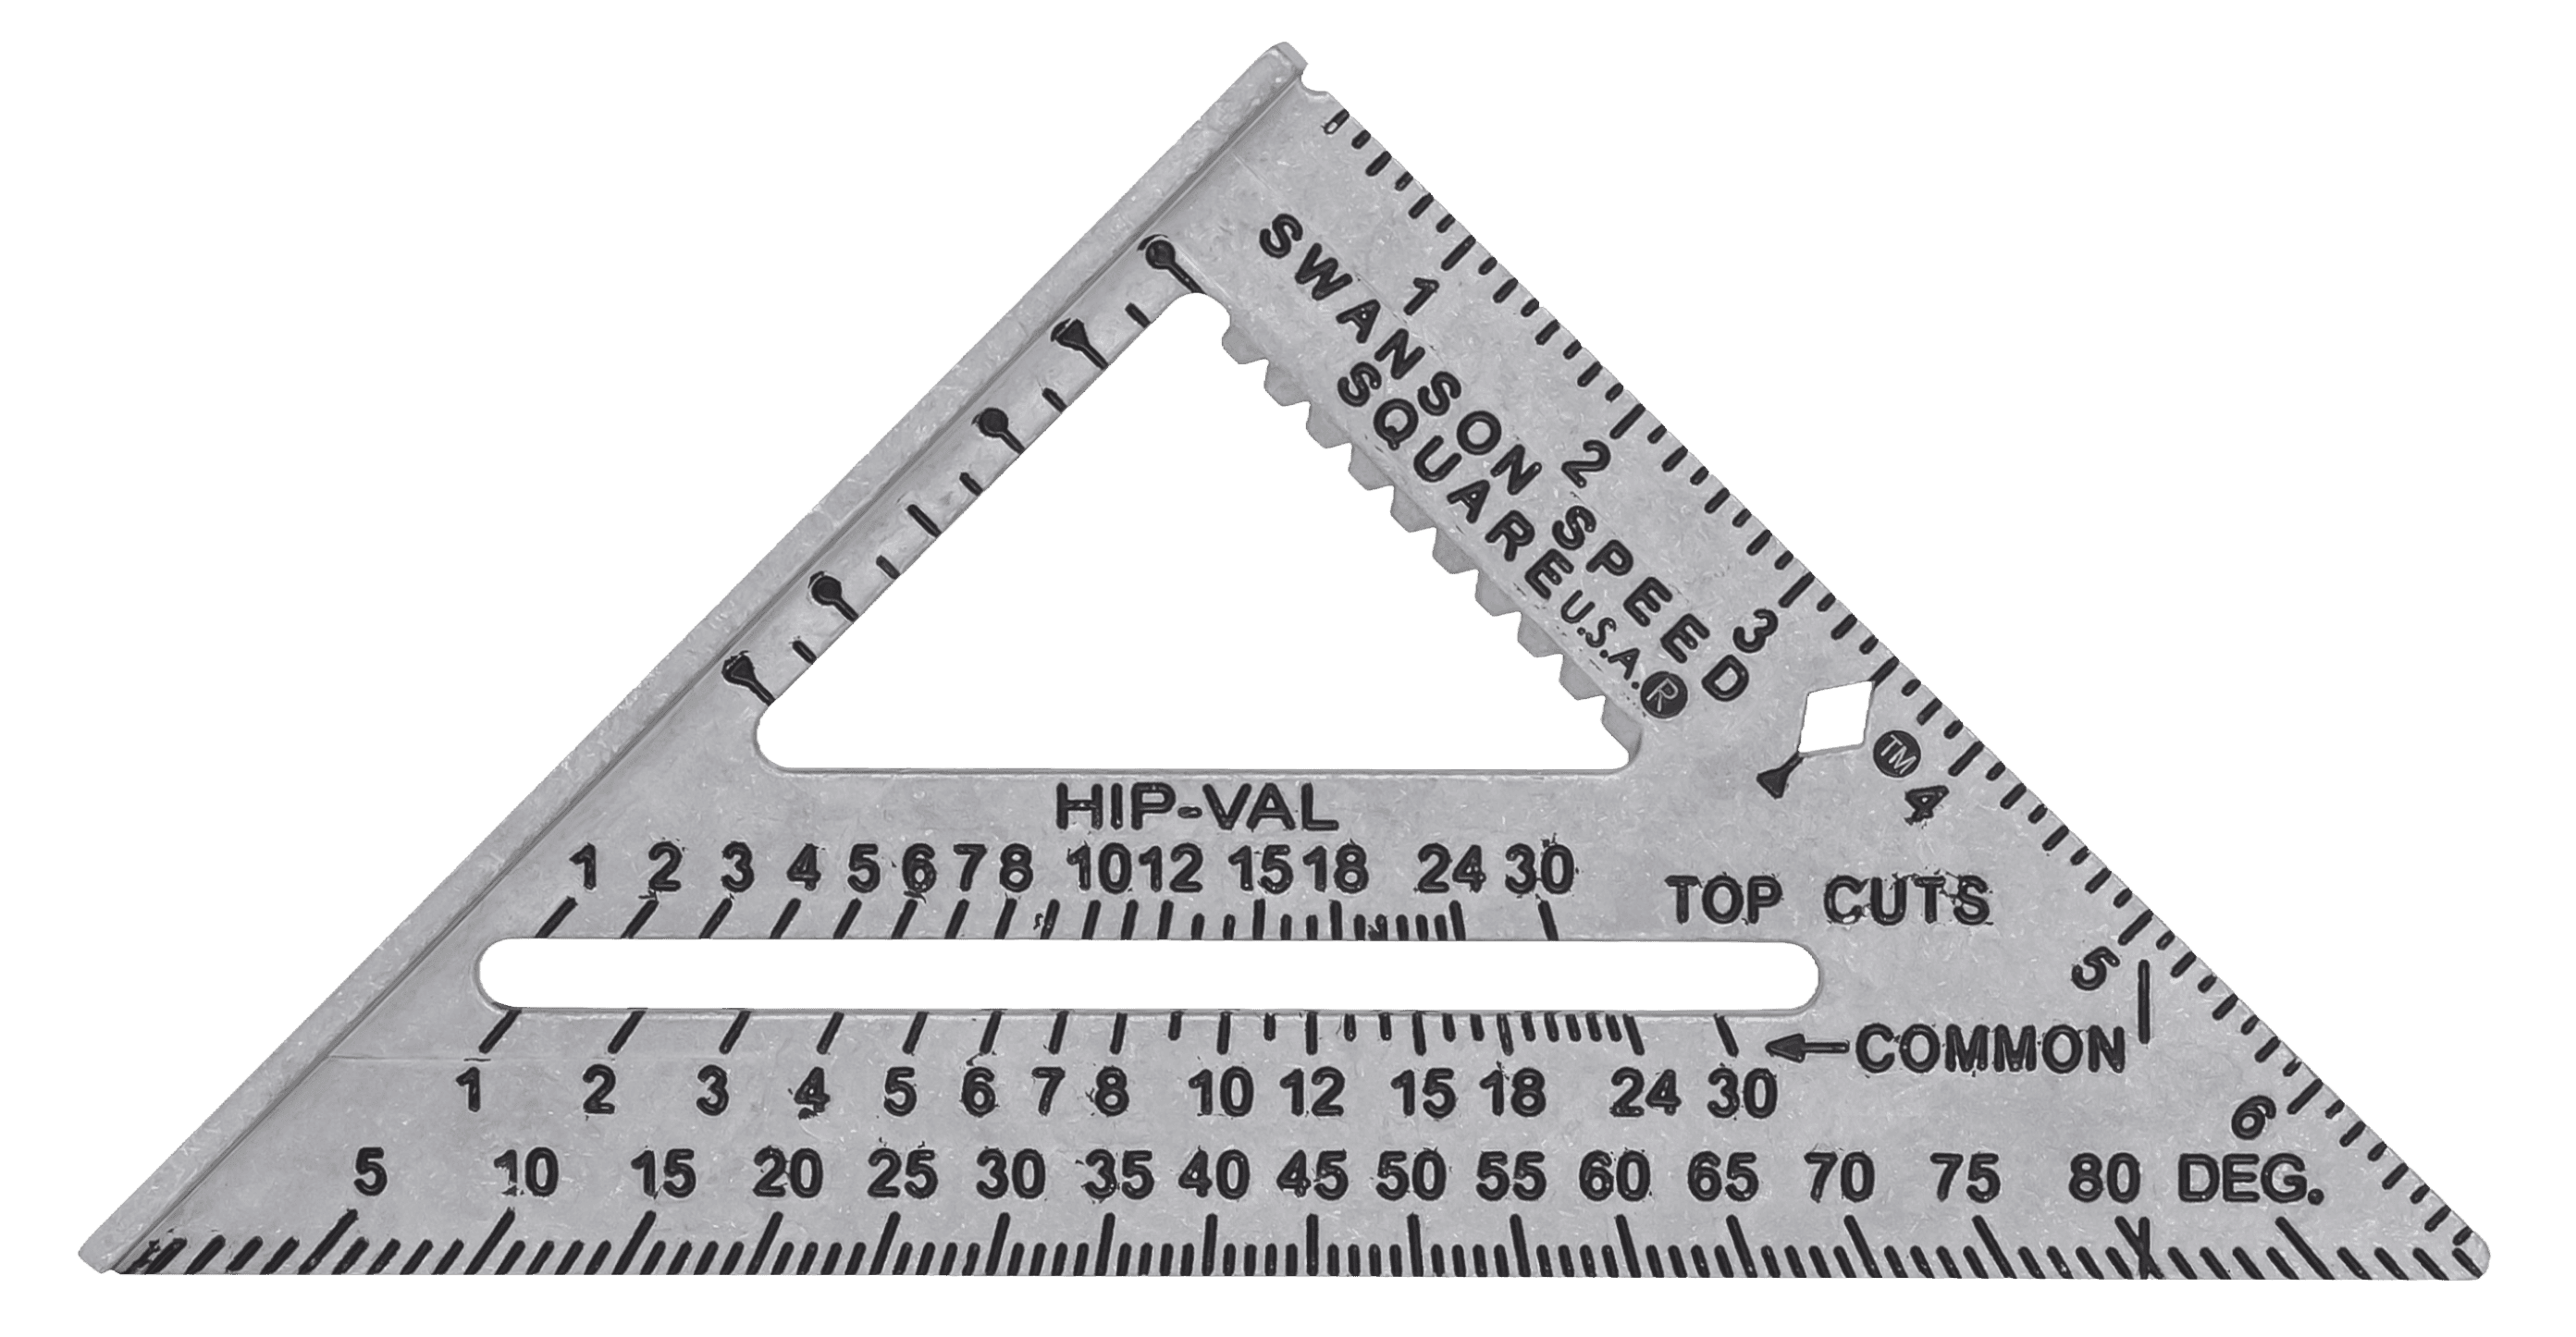
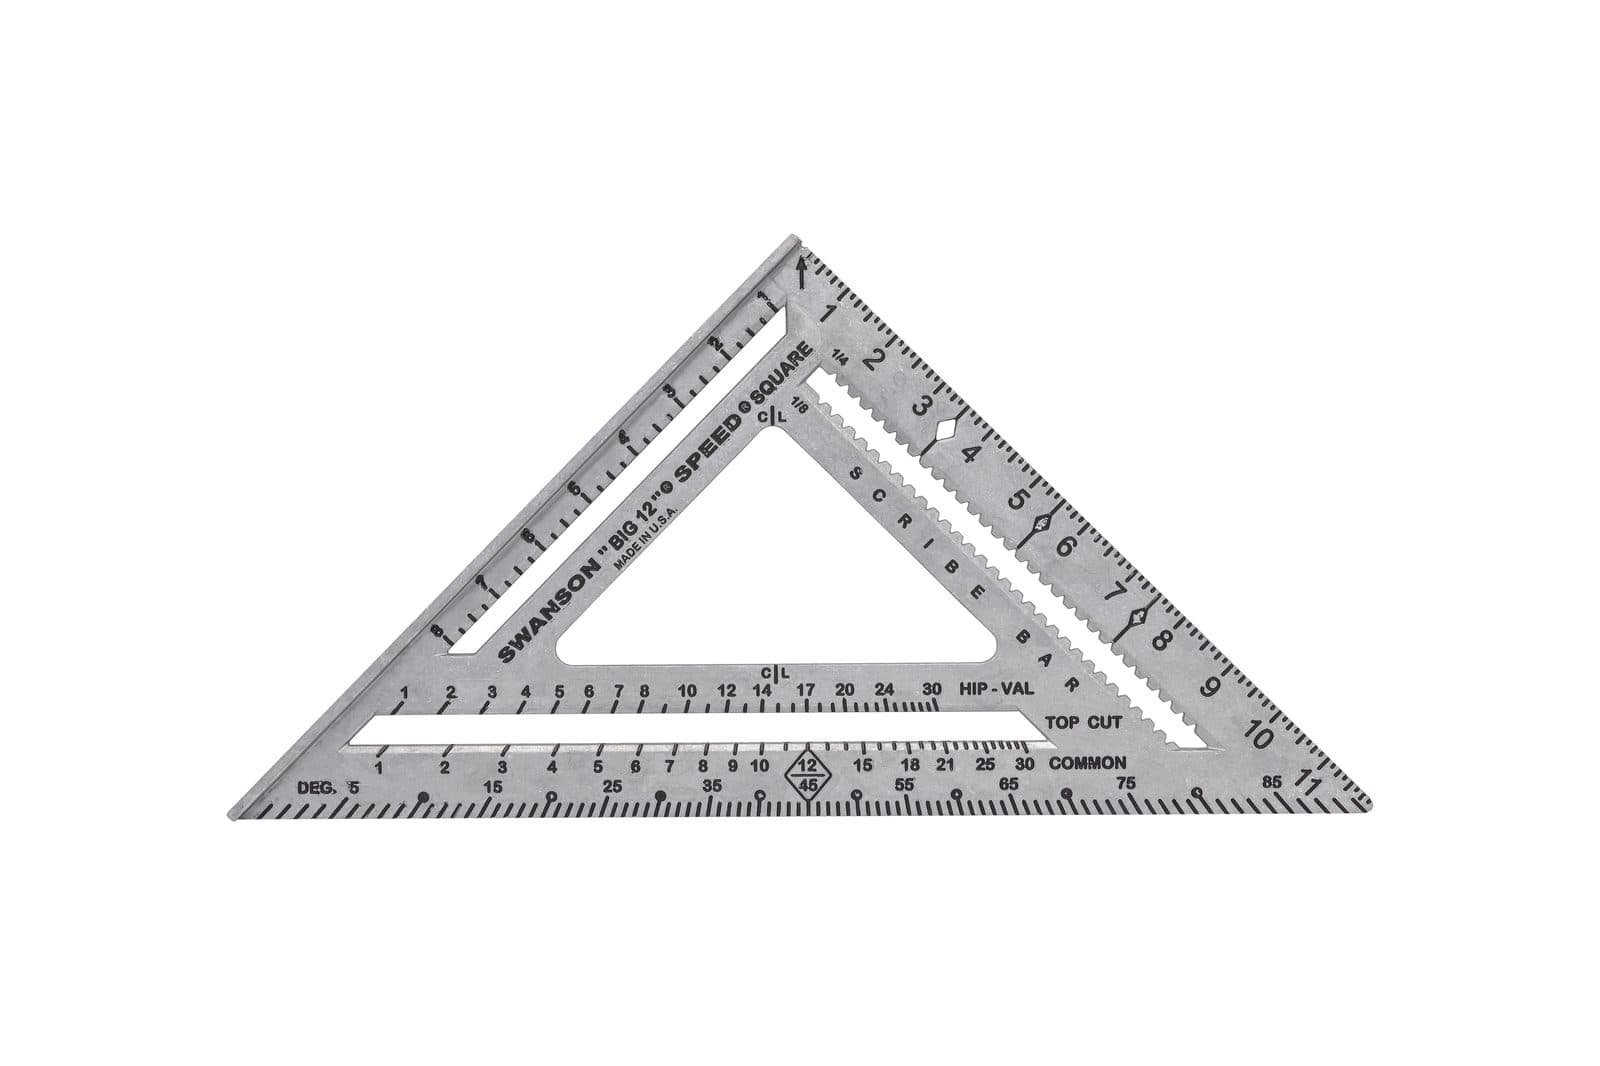
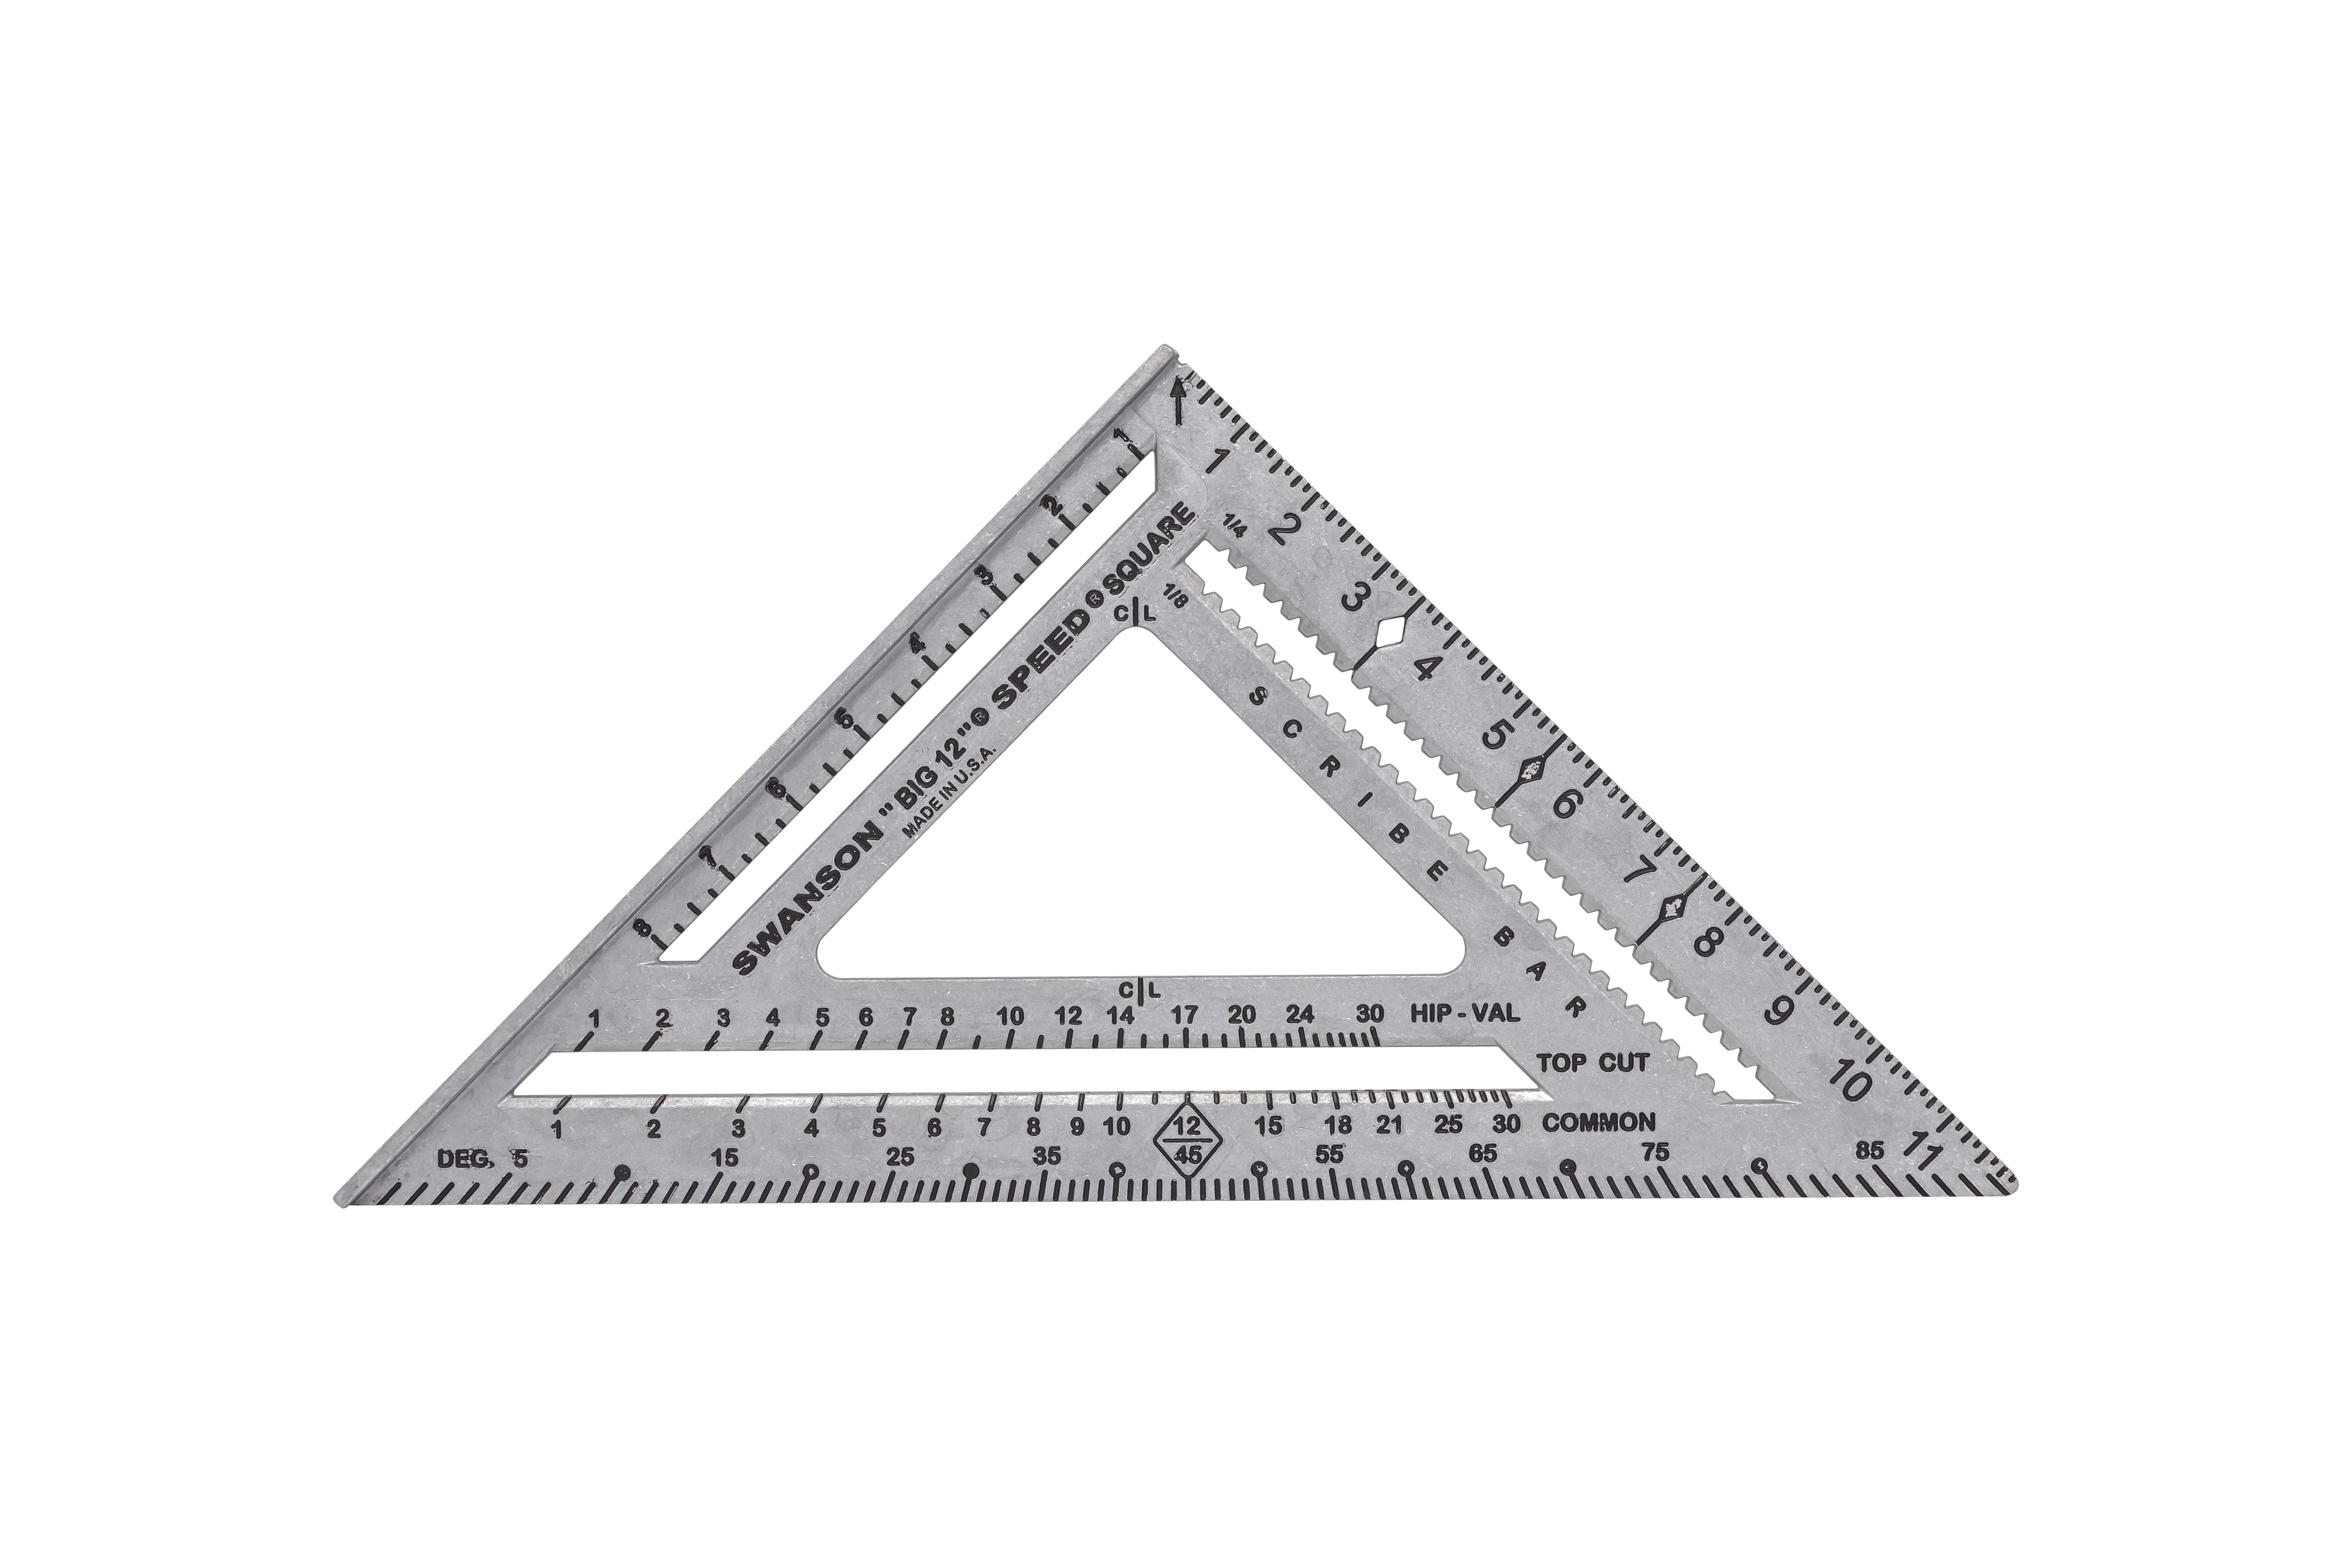
The Big 12® Speed® Square
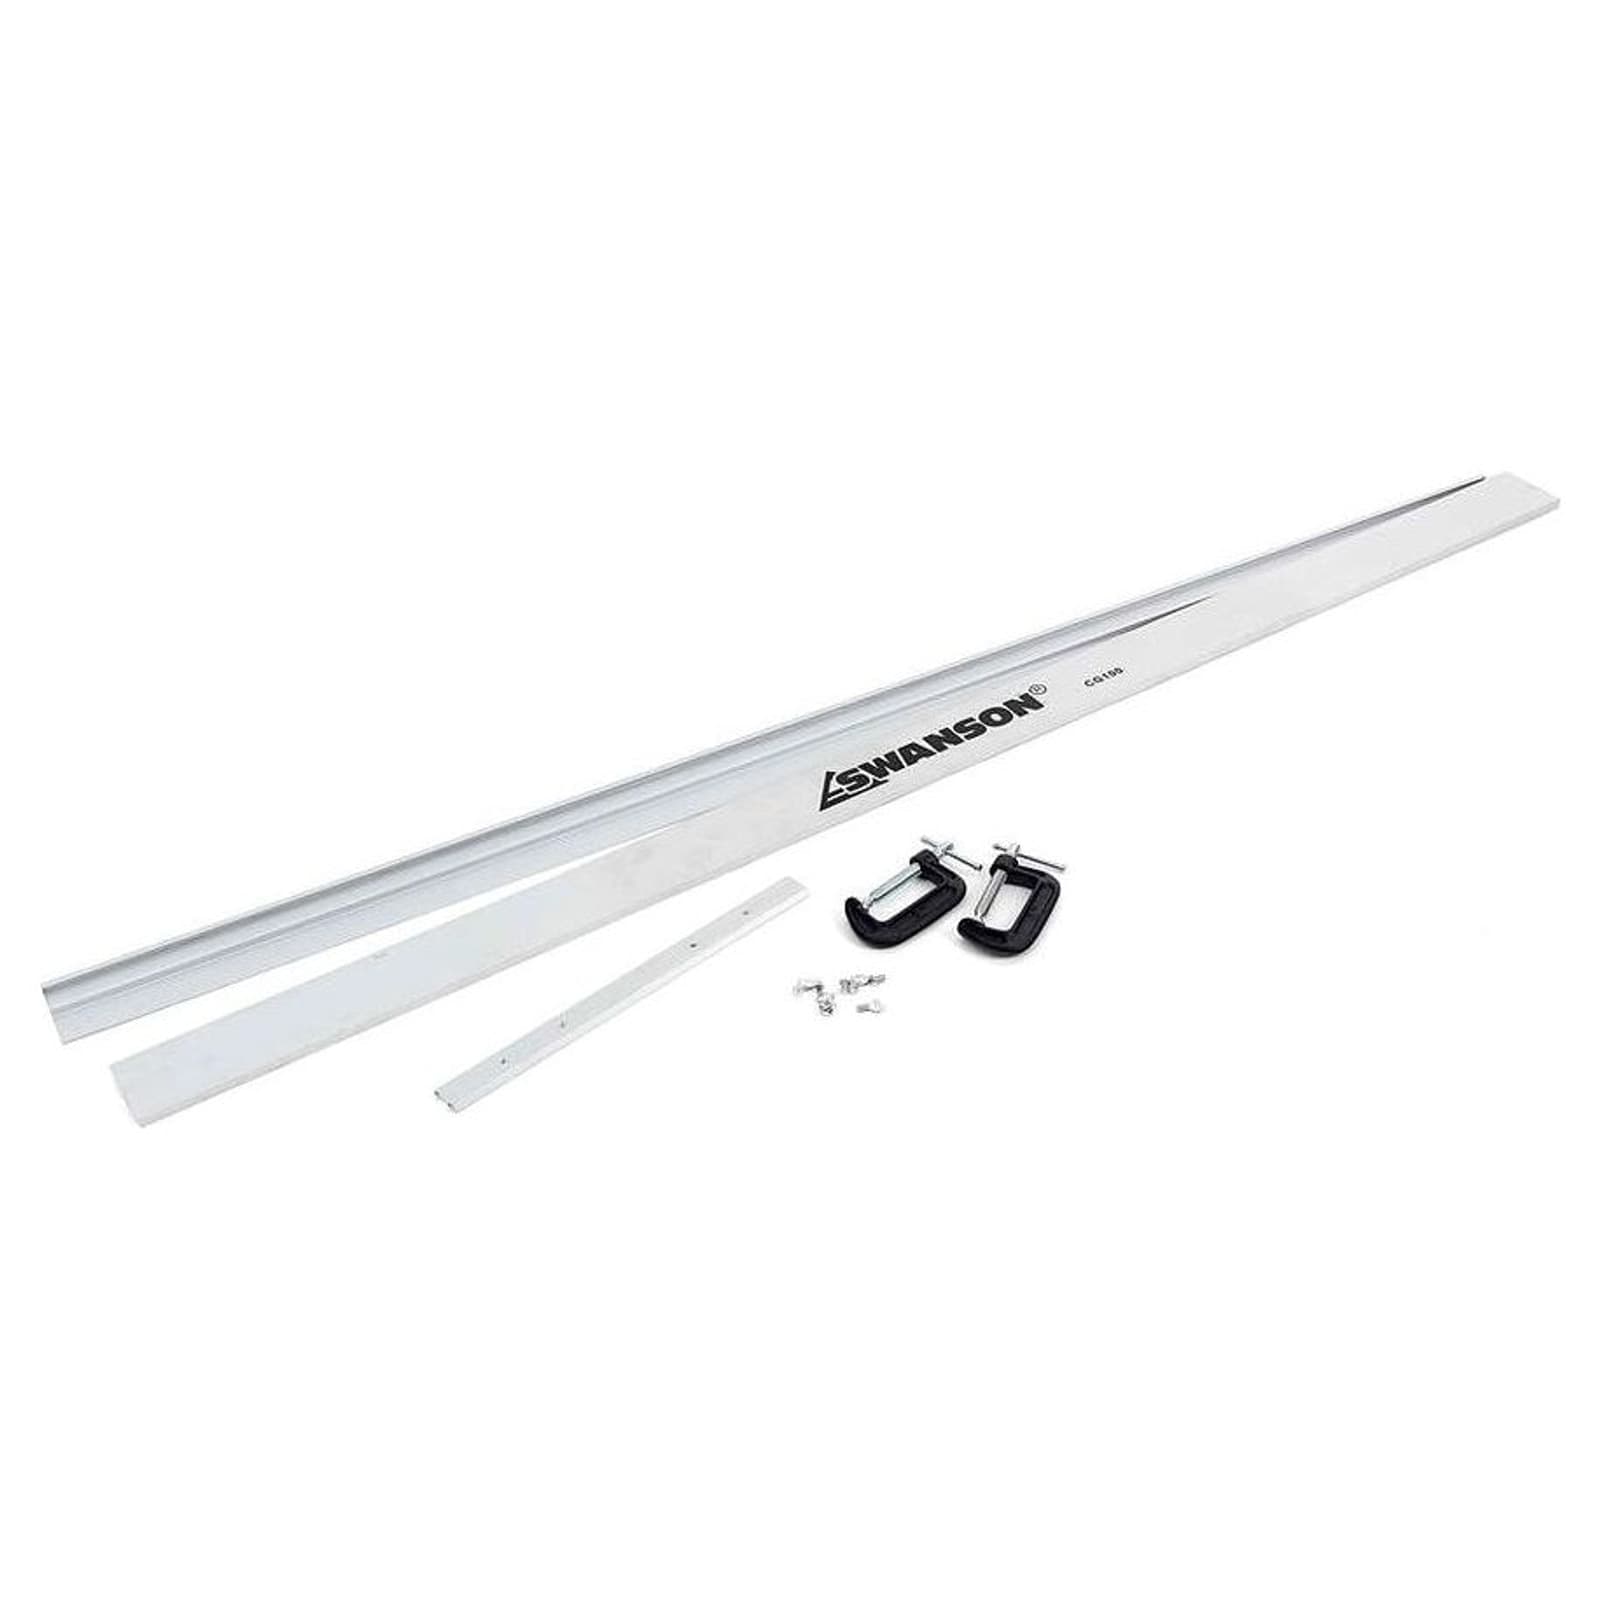
The 12-inch heavy-duty Speed® Square: same tool, twice the body, plus a Layout Bar that bolts on for stair-stringer work. The one a stair-builder reaches for; the one that keeps a long rafter cut straight.
After reading
Set up the Big 12® with its Layout Bar to lay out a stair stringer, mark long rafter cuts that out-reach the standard 7-inch Speed® Square, and use the integrated 12-inch ruler edge for 2x material width.
Why a 12-inch square
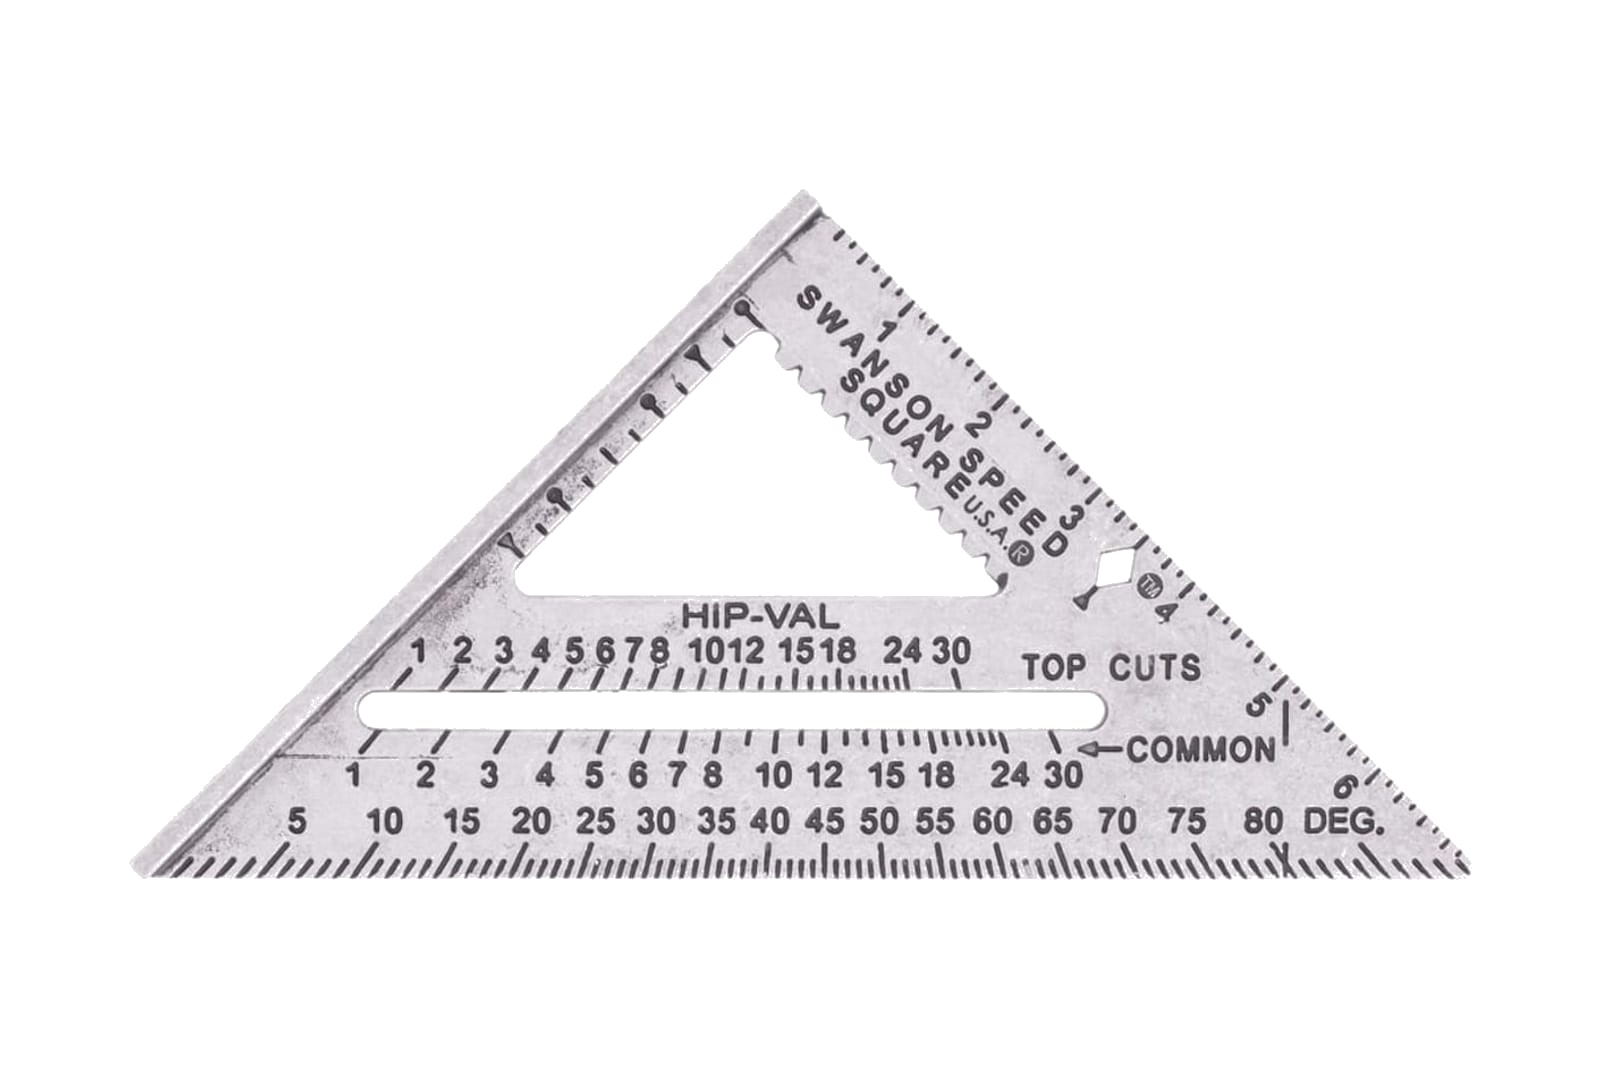
A standard Speed® Square is 7 inches on the long edge. That is enough for a common rafter cut on most material widths. For a 2x12 rafter or a stair stringer that needs an 11-inch tread run, the long edge runs out of room. The Big 12® doubles the body so the framer can pivot once and mark the full cut without flipping.
The Layout Bar, a stair stringer in your tool belt
The bolt-on Layout Bar turns the Big 12® into a parametric stair-stringer template. Set the rise on the COMMON edge, set the tread run with the stop bolts, then walk the square down a stringer board marking step after step.
ASSEMBLING LAYOUT BAR ON "BIG 12®"®
- Put one 1/4" x 3/4" bolt through longest slot in layout bar so head of bolt and square shoulder drops down into recess in bar. Place washer on underside with one of the long hex nuts (1/4" rod couplings).
- With "Big 12®"® name on square facing up, place other 1/4" x 3/4" bolt through slot next to the words "Big 12®".® Put a washer and hex nut on underside.
- Place layout bar under square along the 12" scale matching the pointed ends of layout bar and square. With holes in the two "ears" matching up with scribe bar slot, put smaller bolts (3/16" x 3/4") up through ears from underside and through scribe bar slot. Head of this bolt fits recess in underside of "ear". Place washers and wing nuts on top side. Tighten down keeping layout bar even with edge of square.
- Reach under square, loosen the long hex "stop bolts" and adjust in slot for stairway rise and run measurements. Fig. on next page shows "Big 12®"® square positioned on stringer to lay out rise and run (tread). Repeat this position over length of stringer until proper amount of treads and risers are marked. Be accurate. Make sure lines meet at edge of material.
- For drainage on OUTSIDE STAIR TREADS, loosen wing nuts and adjust pointed end of Layout Bar out beyond edge of square 1/8" at a point directly over edge of stringer.
- To use layout bar in "OUT OF SQUARE" CORNER, remove the two hex stop bolts. Attach layout bar back onto square. Hold square flat, pushing it into corner. Loosen wing nuts, adjust layout bar to fit into "crooked corner" and tighten wing nuts. Now transfer this angle to your other material for proper fit.
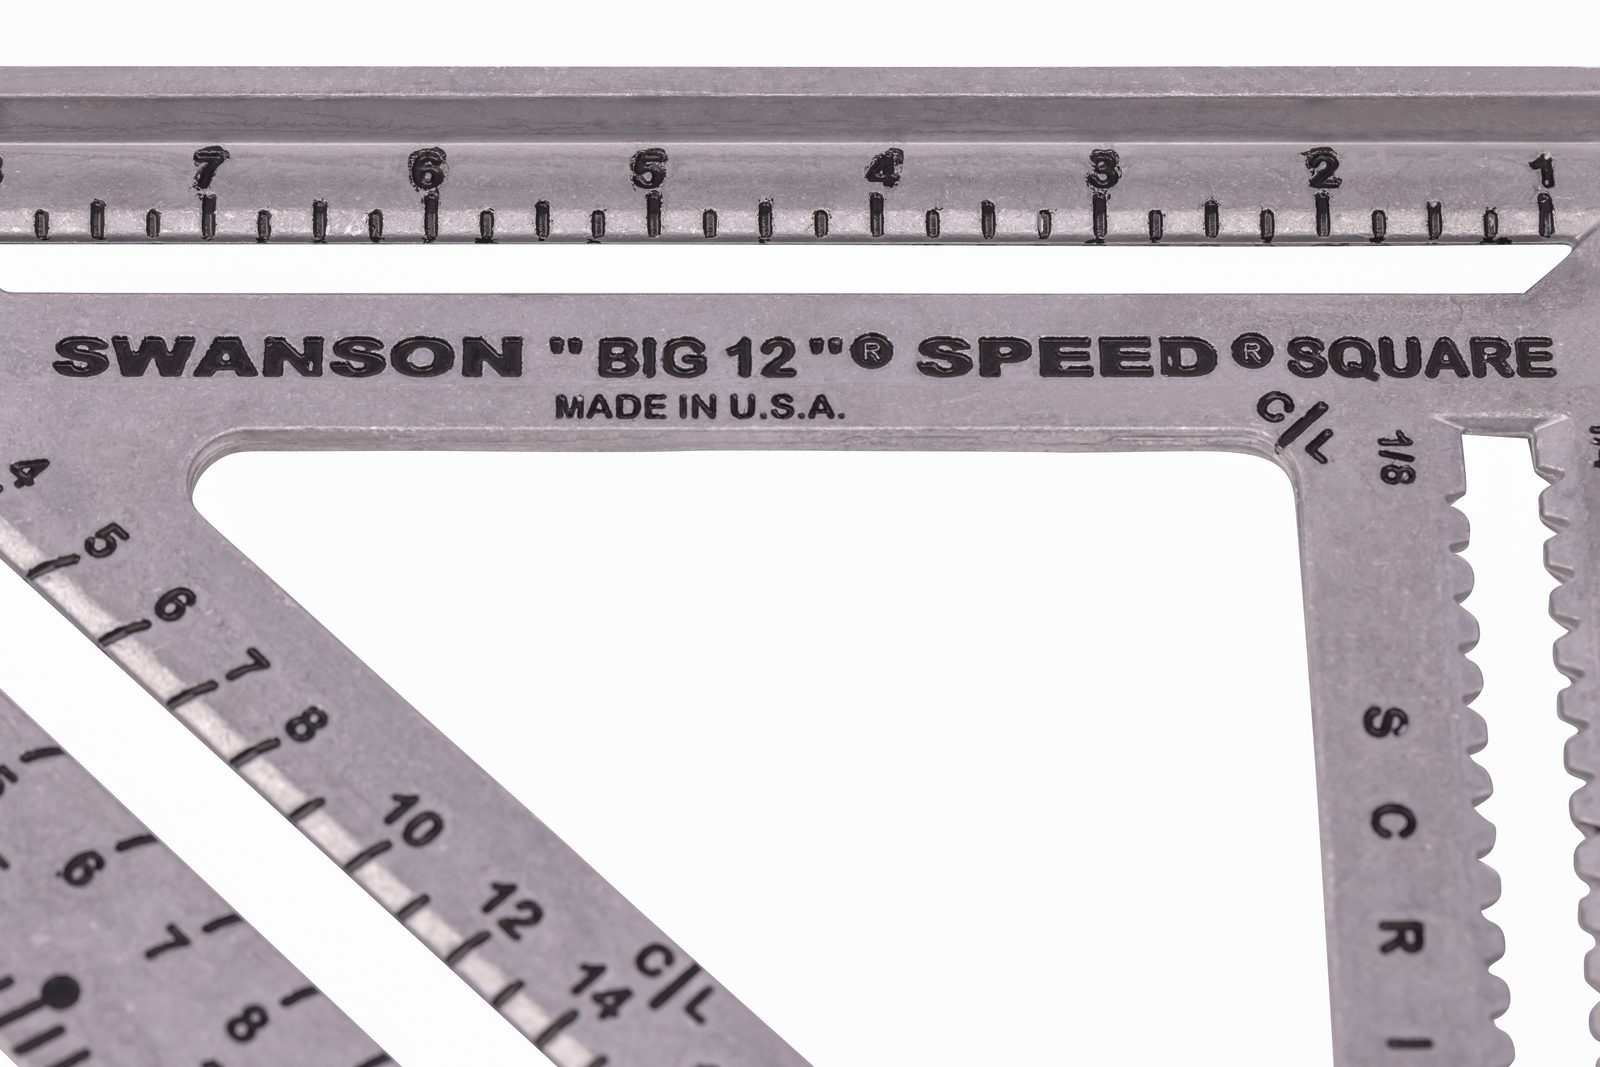
- The "Big 12®"® square has a SCRIBE BAR, notched every 1/4 inch for a pencil. By sliding square along edge of material, parallel lines can be drawn for any layout work.
Plate
Swanson Big 12® Speed® Square
"BIG 12®"® SQUARE POSITIONED ON STRINGER
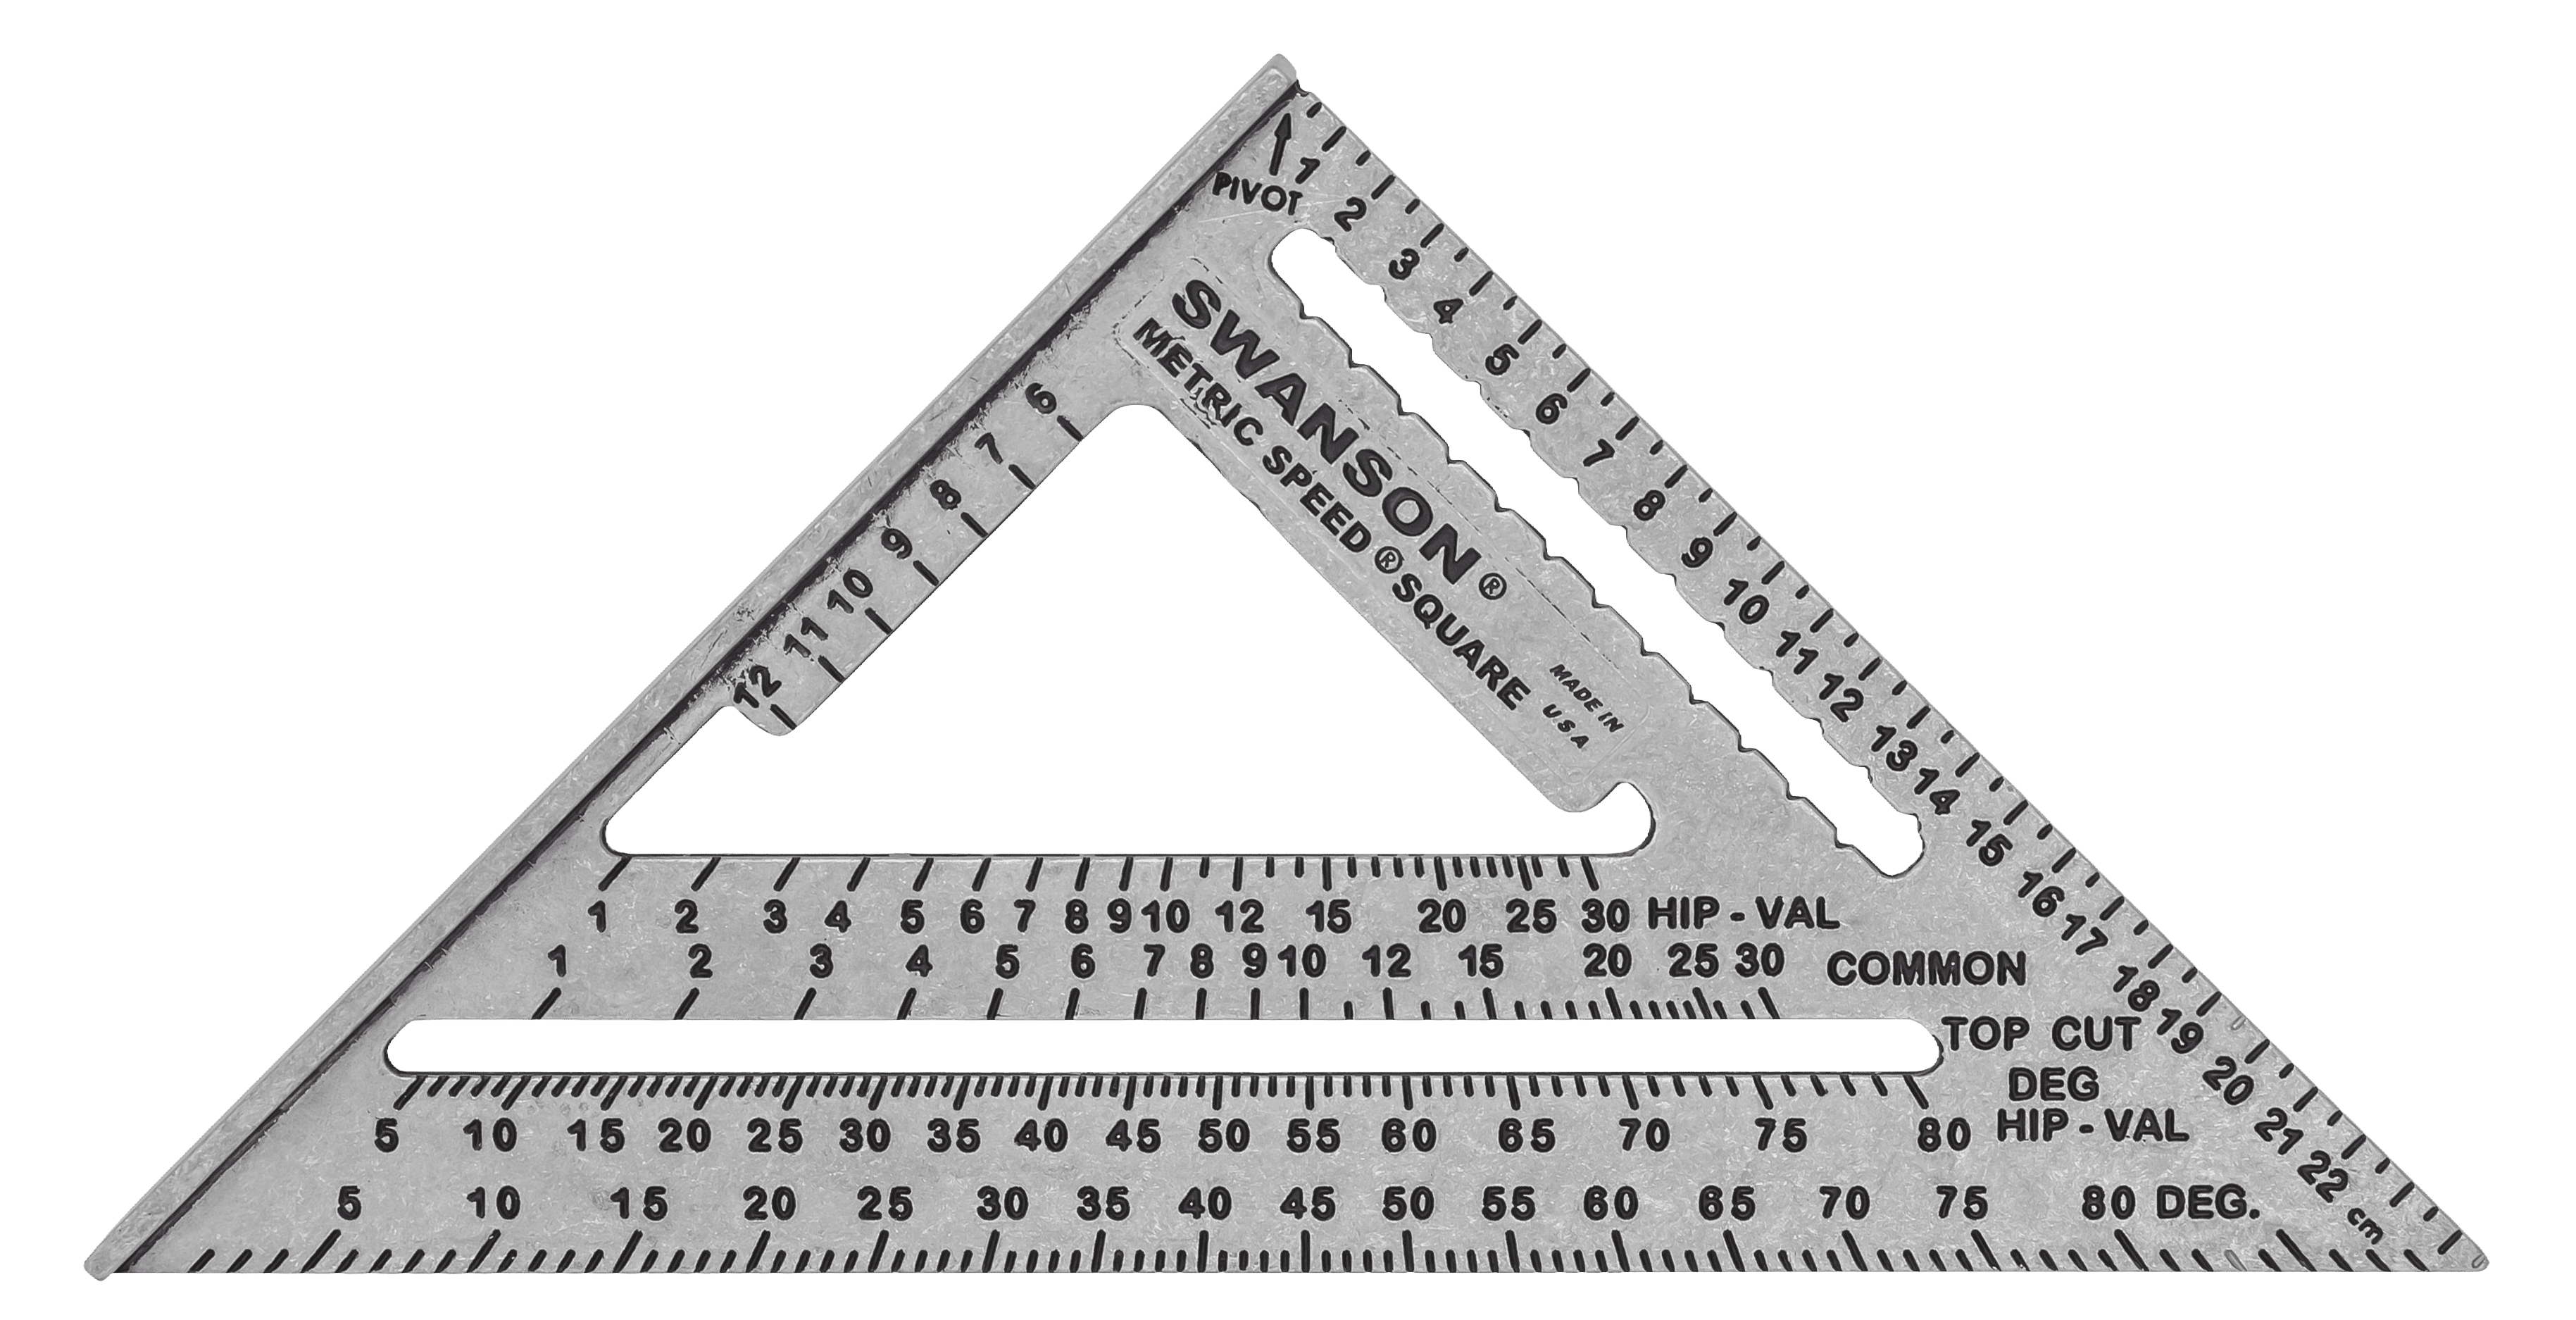
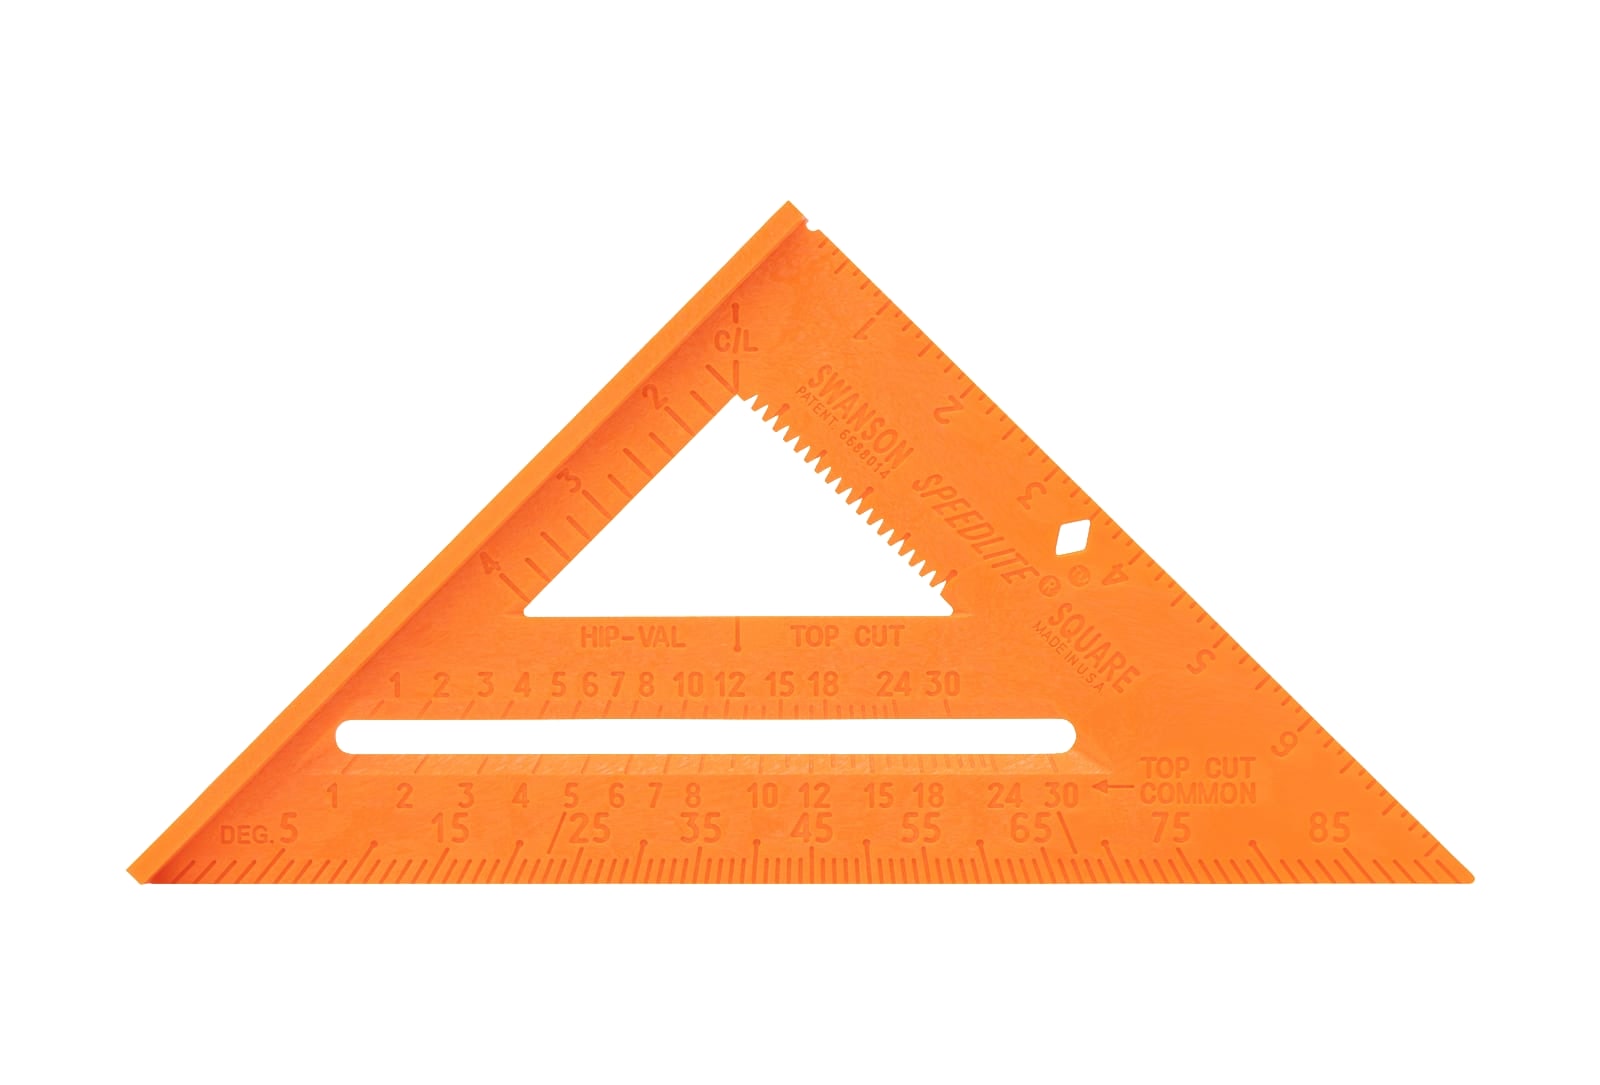
Three Speeds of square
The current product line has three Speed® Square sizes: the 7-inch Speed® Square, the 12-inch Big 12®, and the Speedlite® (an aluminum version of the standard 7-inch). Each is the same triangle, scaled.
Plate
Big 12®: 12-inch heavy-duty Speed® Square for stair stringers and long rafter cuts
Common questions
What is the Big 12® Speed® Square?
The Big 12® is Swanson's 12 in. Speed® Square (model S0100A). It carries the same layout scales as the 7 in. flagship but reads farther across a rafter run, which speeds up open framing, hip-val work, and any layout past 7 in. It ships with the same one-number layout system.
Do I need a Big 12® if I already have a 7 in. Speed® Square?
The 7 in. is the daily driver; the 12 in. Big 12® is the framing carpenter's second tool for open framing, hip-val cuts on wider stock, and any layout where a 7 in. straightedge doesn't reach. Many framers keep both, the 7 in. in the nail belt and the Big 12® in the tool bucket.
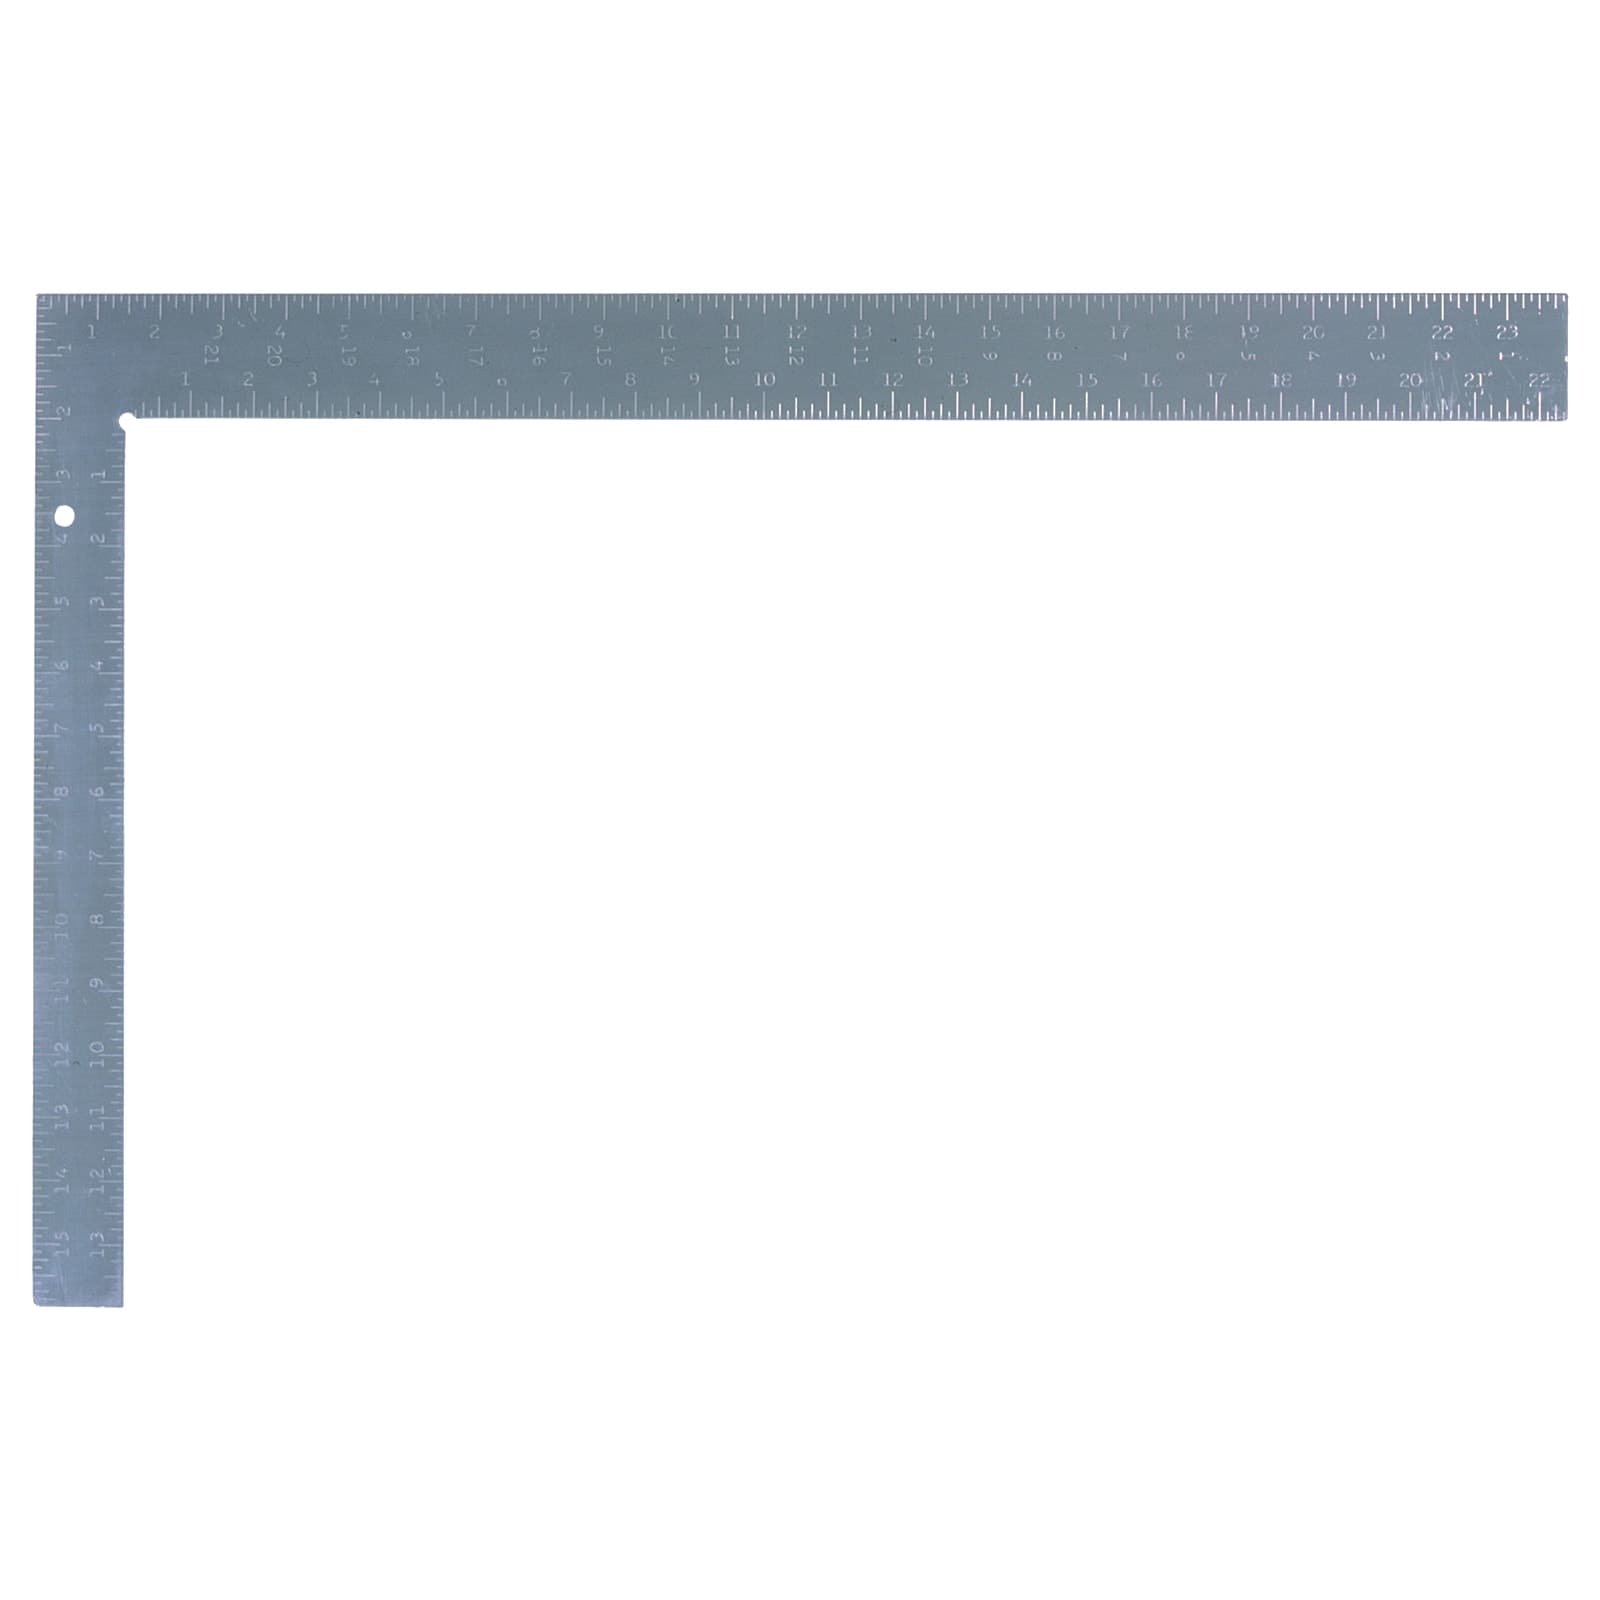
What is the difference between a Big 12® and a 7 in. Speed® Square?
The Big 12® is 12 in. on a side; the standard Speed® Square is 7 in. Both carry the pitch scale, degree scale, common rafter scale, and hip-val scale. The Big 12® reads farther across a rafter, doubles as a longer saw guide, and lets a carpenter mark plumb cuts on 2x12 stock in one setup instead of two.
Reading the Speed® Square
Identify every scale on the Speed® Square, know which scale to use for which cut, and understand why one number on the COMMON scale anchors every cut on a roof at that pitch.
StairsStair Stringer Layout
Lay out a stair stringer of any height with risers within 1/8 inch of each other, treads at the right run, and a stringer that ties cleanly into the joist header.
RaftersCutting a Common Rafter
Lay out a common rafter from rise + run + length, with the right plumb cut at the ridge and the right tail cut at the eave.