Assembly and Usage Instructions for laying out stairs.
Download Instructions
-
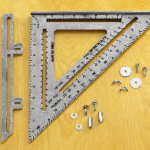
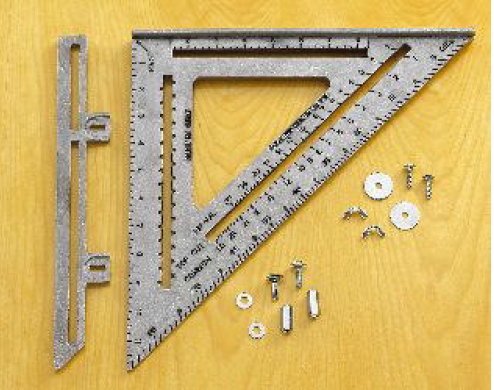
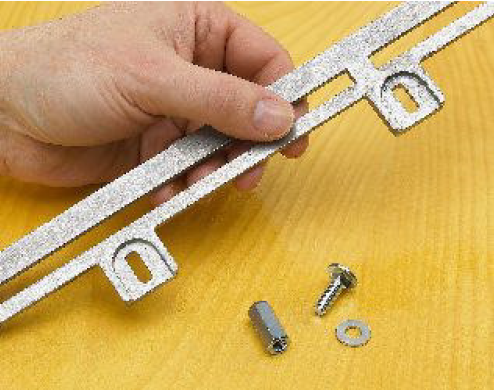
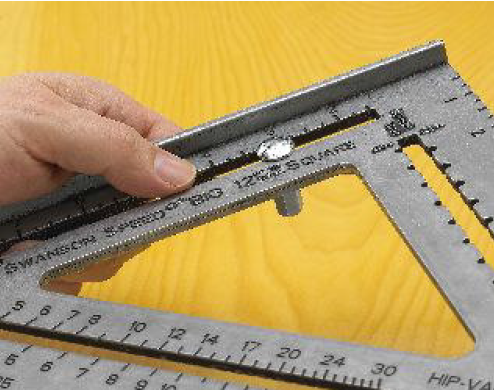
- 1. Big 12® Speed®Square parts inventory.
-
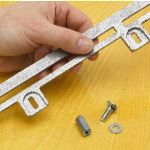
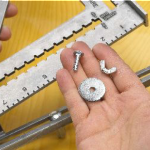
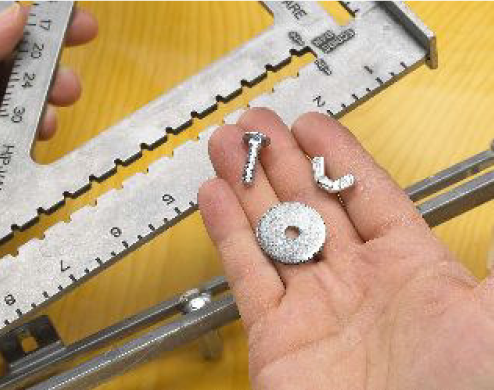
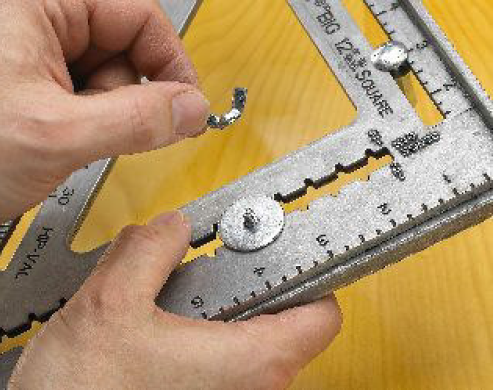
- 2. Layout Bar, 1/4 in. x3/4 in. bolt and hex peg.
-
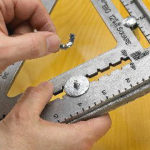
- 3. Put bolt through longest slot in Layout Bar so head of bolt and square shoulder drops down into recess in bar. Place washer on underside and thread on one of the hex pegs.
-
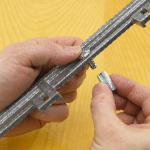
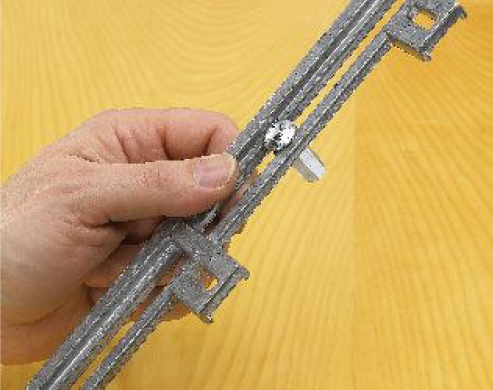
- 4. Hex peg assembled correctly on Layout Bar.
-
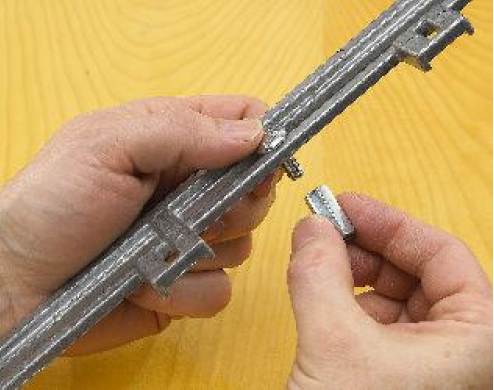
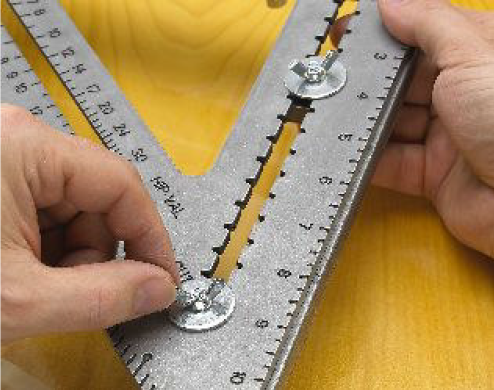
- 5. With Big 12® name on square facing up, place other 1/4 in. x 3/4 in. bolt through slot next to the words “Big 12®”. Thread a washer and hex peg on underside.
-
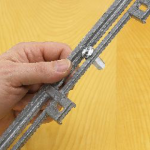
- 6. 2nd Peg assembled on the Big 12® Speed®Square.
-
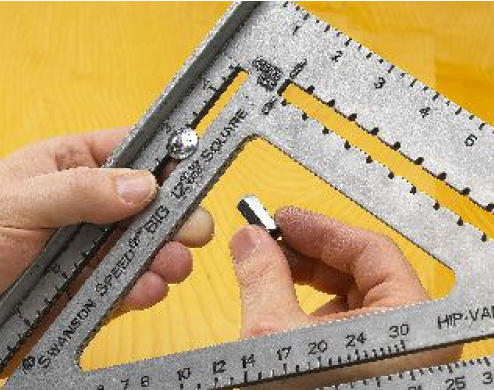
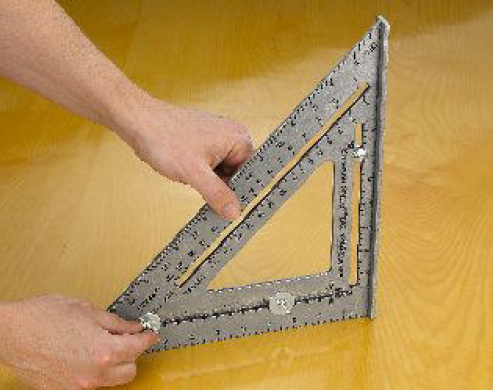
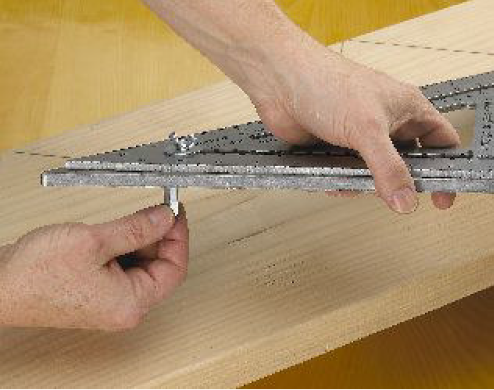
- 7. Big 12® Speed®Square, layout bar, 3/16 in. x 3/4 in. bolt, large washer & wing nut for bar assembly. Place layout bar under square along the 12 in. scale matching the pointed ends of both layout bar and square.
-
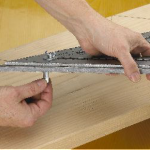
- 8. With holes in the two “ears” of the layout bar matching up with the scribe barslot, put a smaller bolt (3/16 in. x 3/4 in.) up through one ear from underside and through scribe bar slot. Place washer and wing nut on top side.
-

- 9. Put 2nd smaller bolt up through one ear from underside and through scribe bar slot. Place washer and wing nut on top side.
-
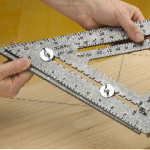
- 10. Stand Big 12® Speed®Square upright on flat surface (to make the bar flush with the Speed®Square) and tighten both wingnuts.
-
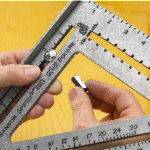
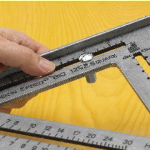
- 11. Loosen the 2 long hex “stop pegs” from the underside of the square and adjust in the slot for stairway rise and run (tread) measurements.
-
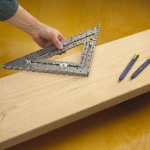
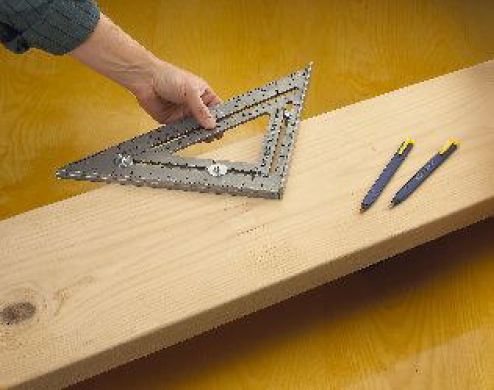
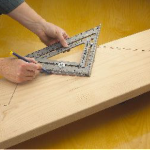
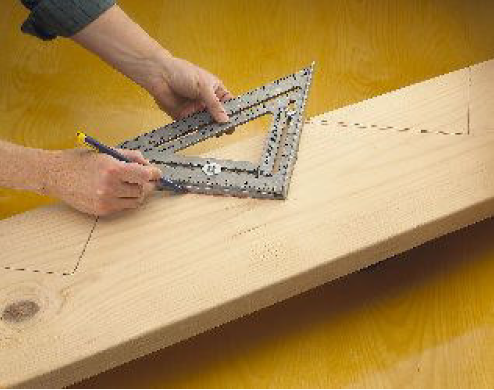
- 12. Position the Big 12® Speed®Square on stringer to layout rise and run and mark with pencil.
-
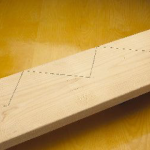
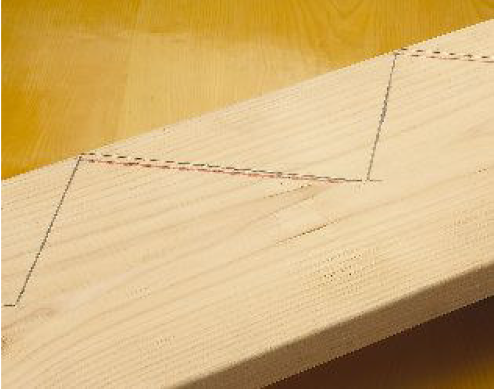
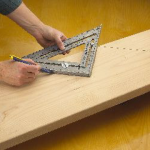
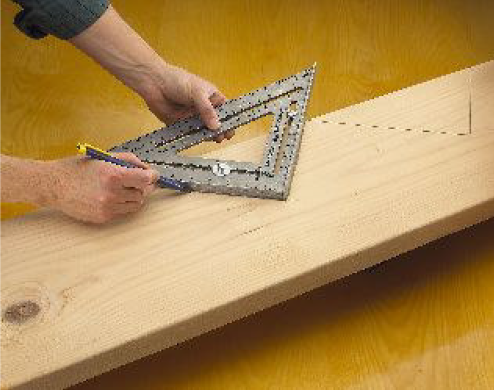
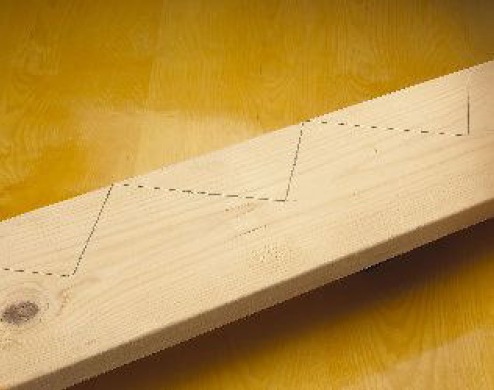
- 13. Repeat this position over length of stringer…
-
- 14. …making sure that lines meet at edge of material.
Additional Steps for Outdoor Stair Treads
-
- 15. For drainage on OUTSIDE STAIR TREADS: Loosen wing nuts and…
-
- 16. …adjust pointed end of Layout Bar out beyond edge of square 1/8 in. at pointed end.

-
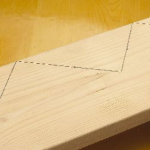
- 17. Align rise side of square with previously marked rise and re-mark each tread run along Layout Bar.
-

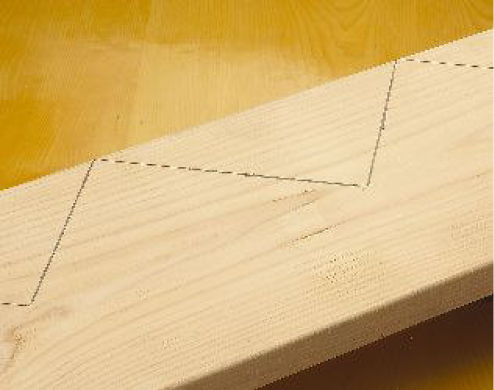
- 18. Close-up of correctly marked OUTDOOR STAIR TREADS.